
Your Authory account comes with your very own personal newsletter included. The newsletter signup can be integrated directly into your portfolio, and it’s a great way to keep anybody interested in what you are doing up to date on the new content you create.
What’s especially great about the newsletter is that it’s automated: You don’t need to create it yourself, let Authory do it instead.
Let’s start with the most important bit:
How people can subscribe to your newsletter
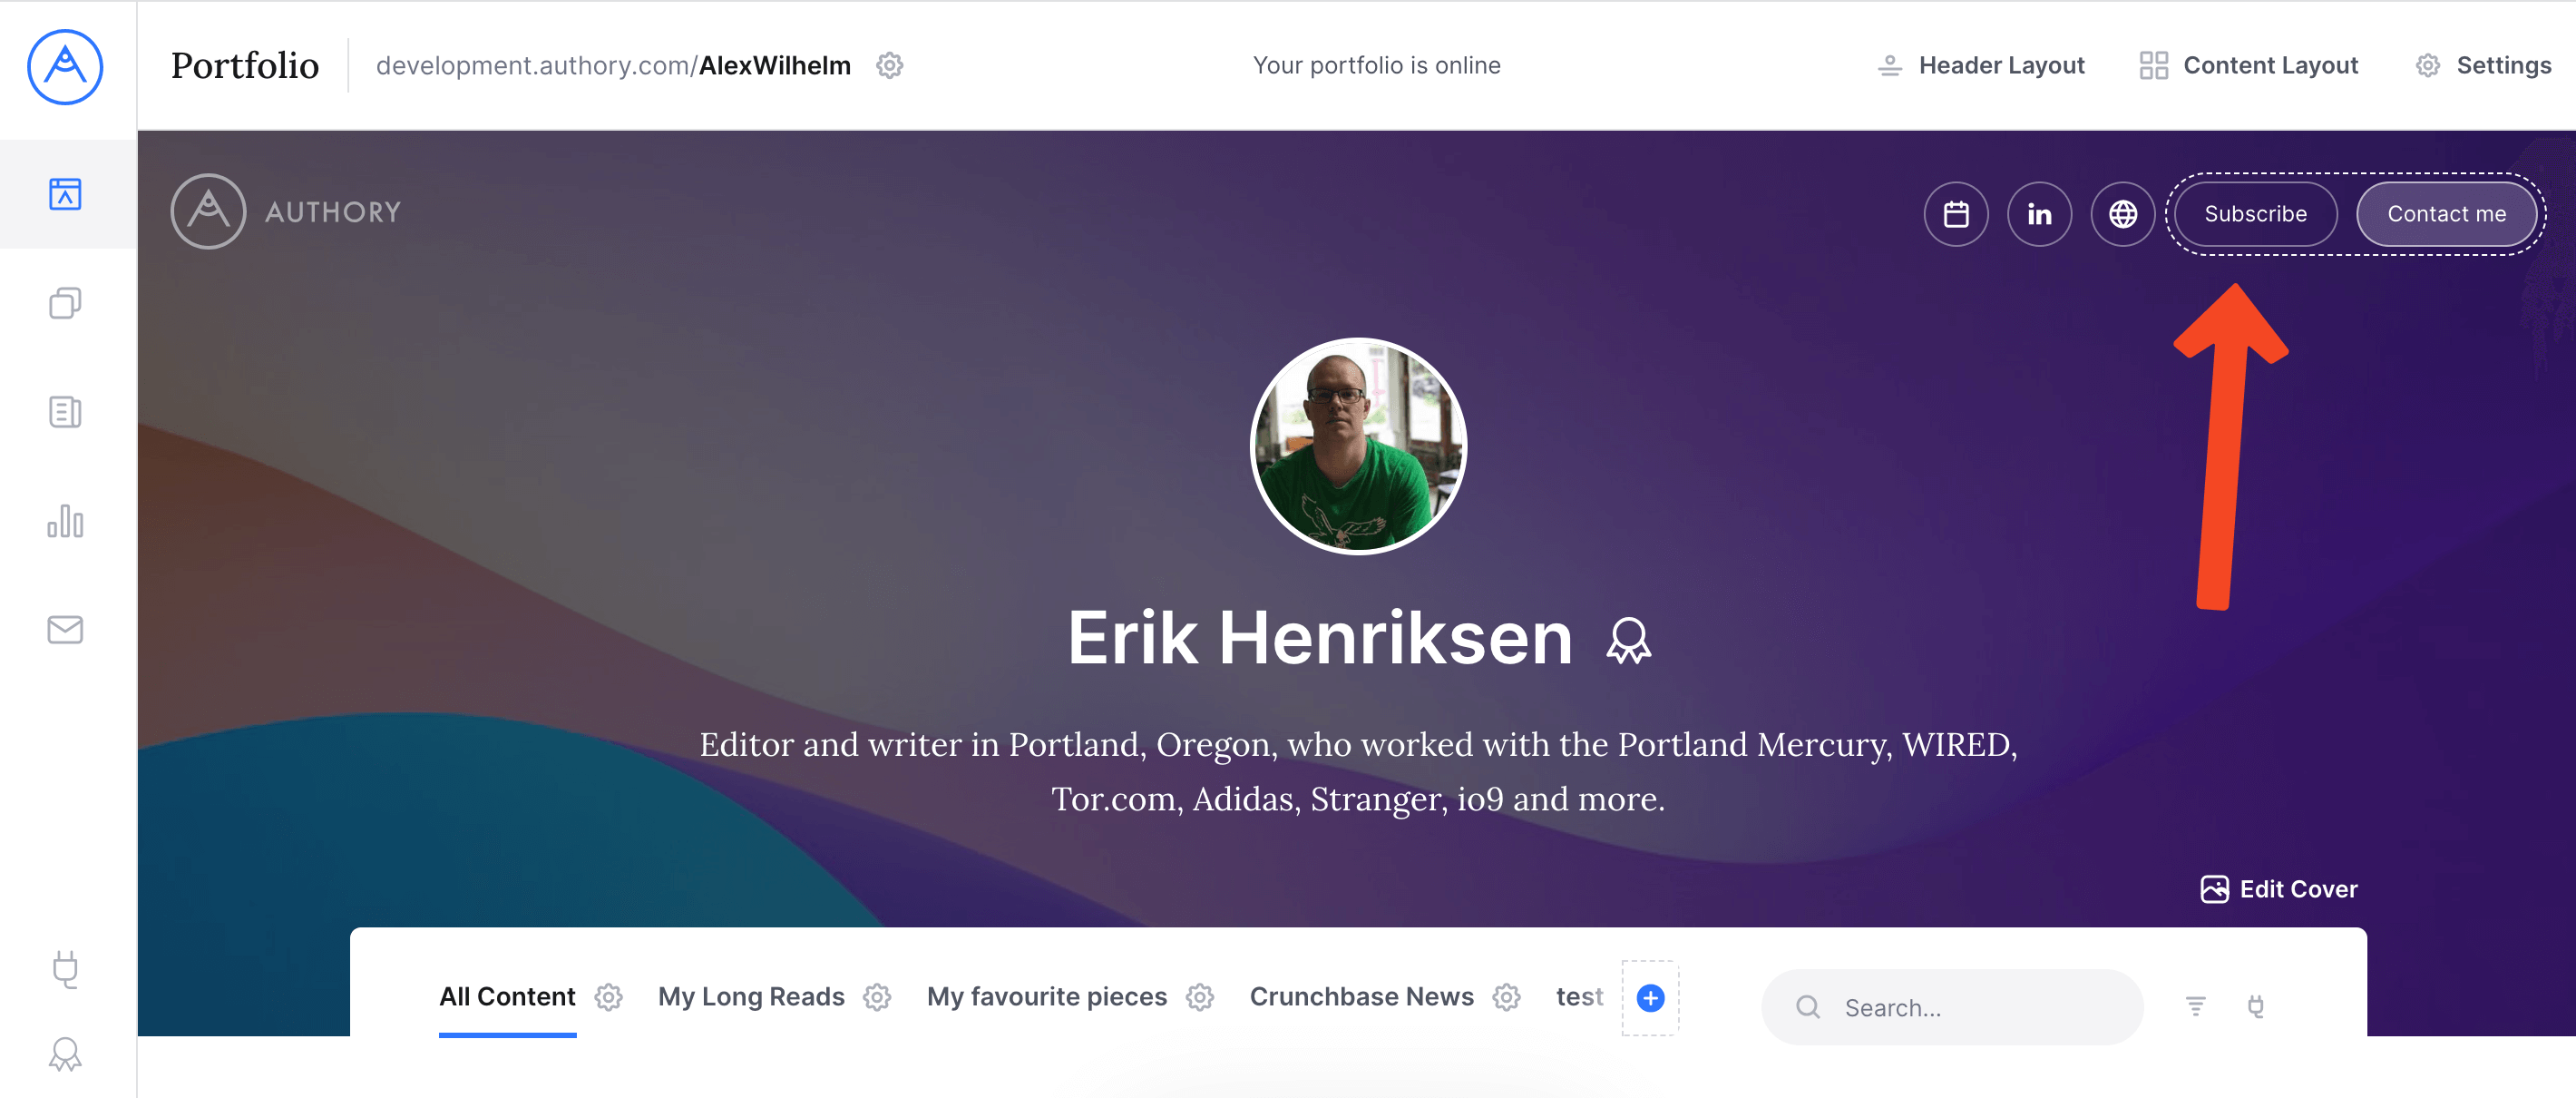
In your portfolio settings, you can enable a Subscribe button:
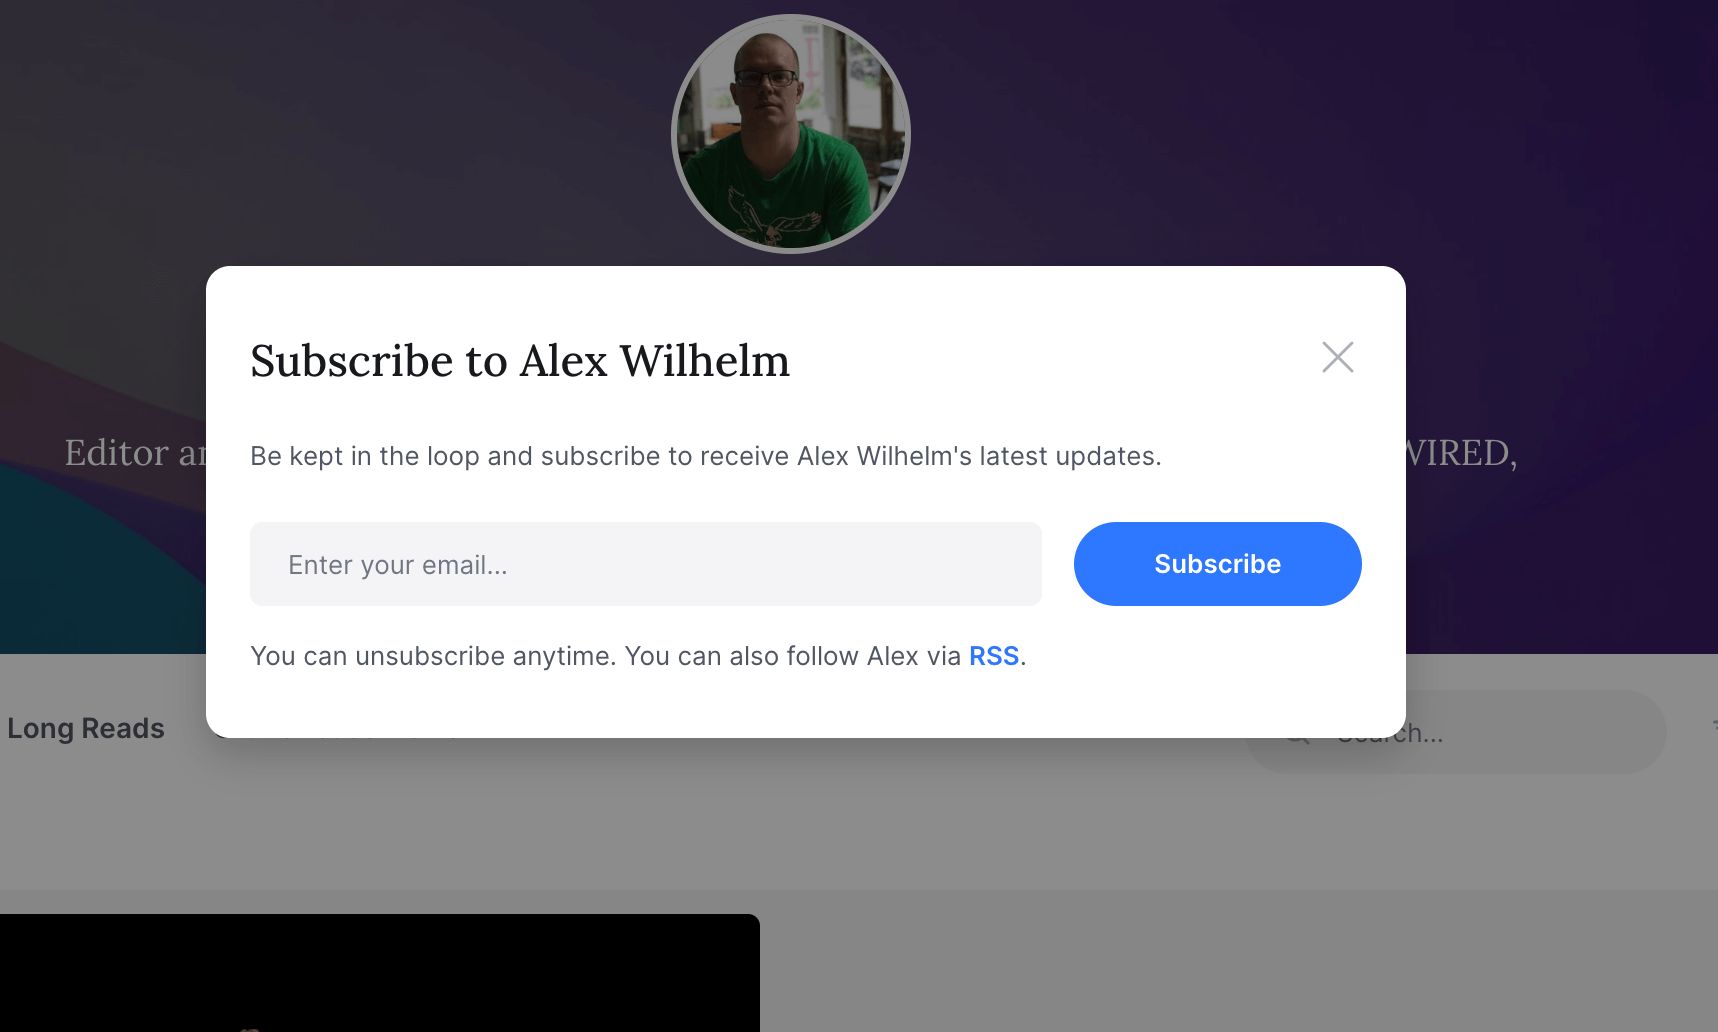
Any visitor of your public portfolio who clicks on this button will see the following screen to subscribe to your newsletter:
You can also add people directly to your newsletter list via the newsletter Settings. In that case, they won’t need to go through the double opt-in process.
Customizing your newsletter
You’ll find all settings and options regarding your newsletter by going to the respective section in the sidebar menu:
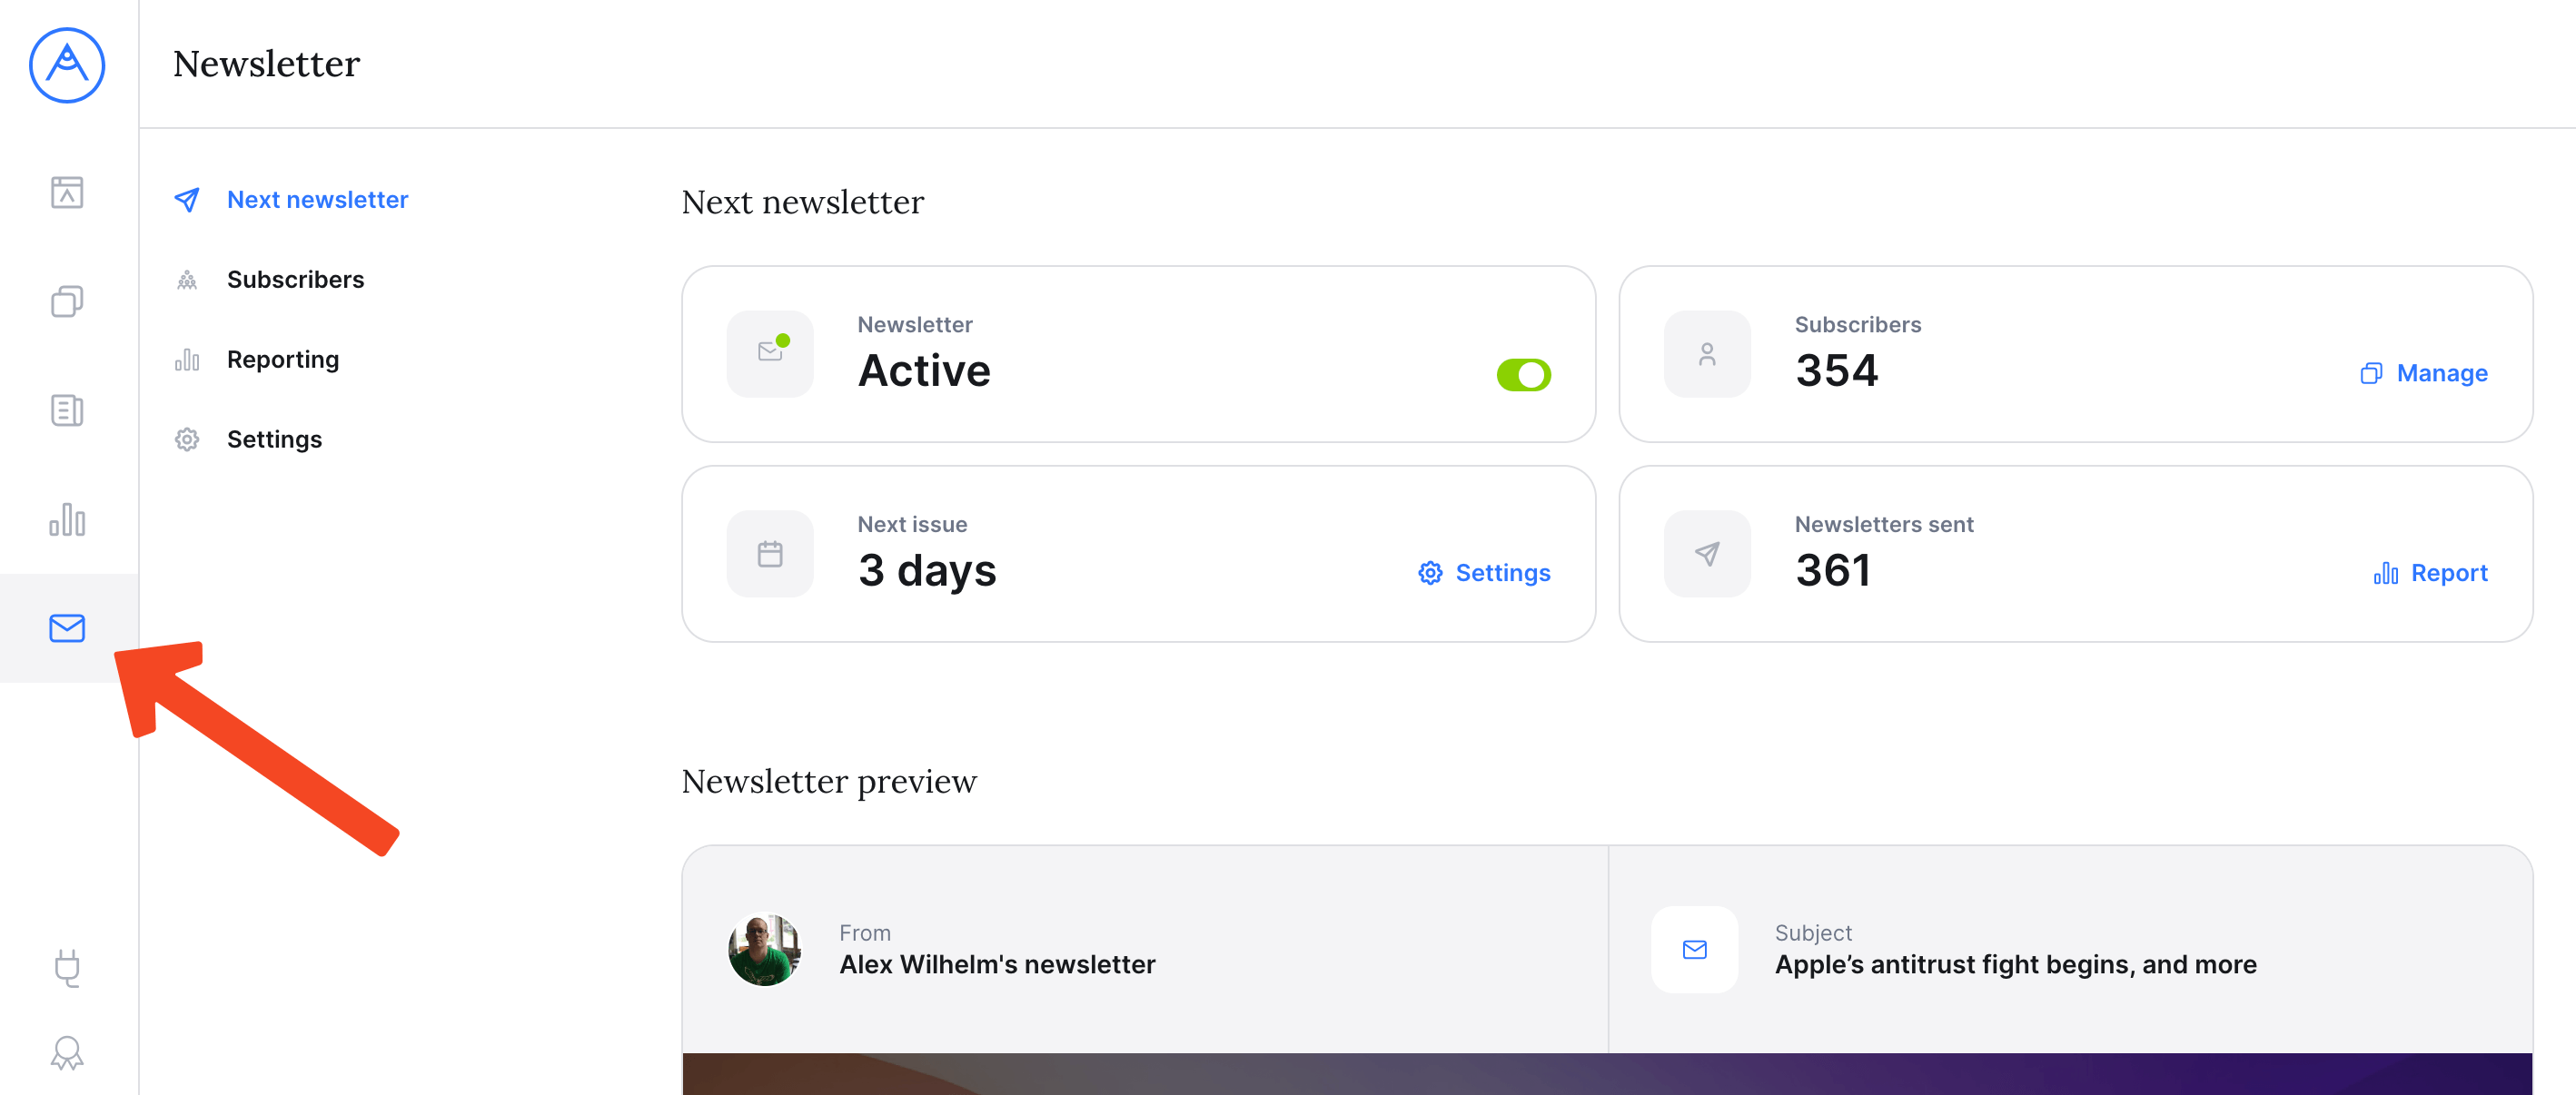
You’ll find four different settings pages for your newsletter: Next newsletter, Subscribers, Reporting and Settings
Next newsletter
Unlike with standard newsletter tools such as Mailchimp, with Authory you don’t have to create a newsletter yourself. Instead, you’ll only need to set the schedule (daily or weekly) and Authory will automatically compile a digest with your most recent content for your subscribers.
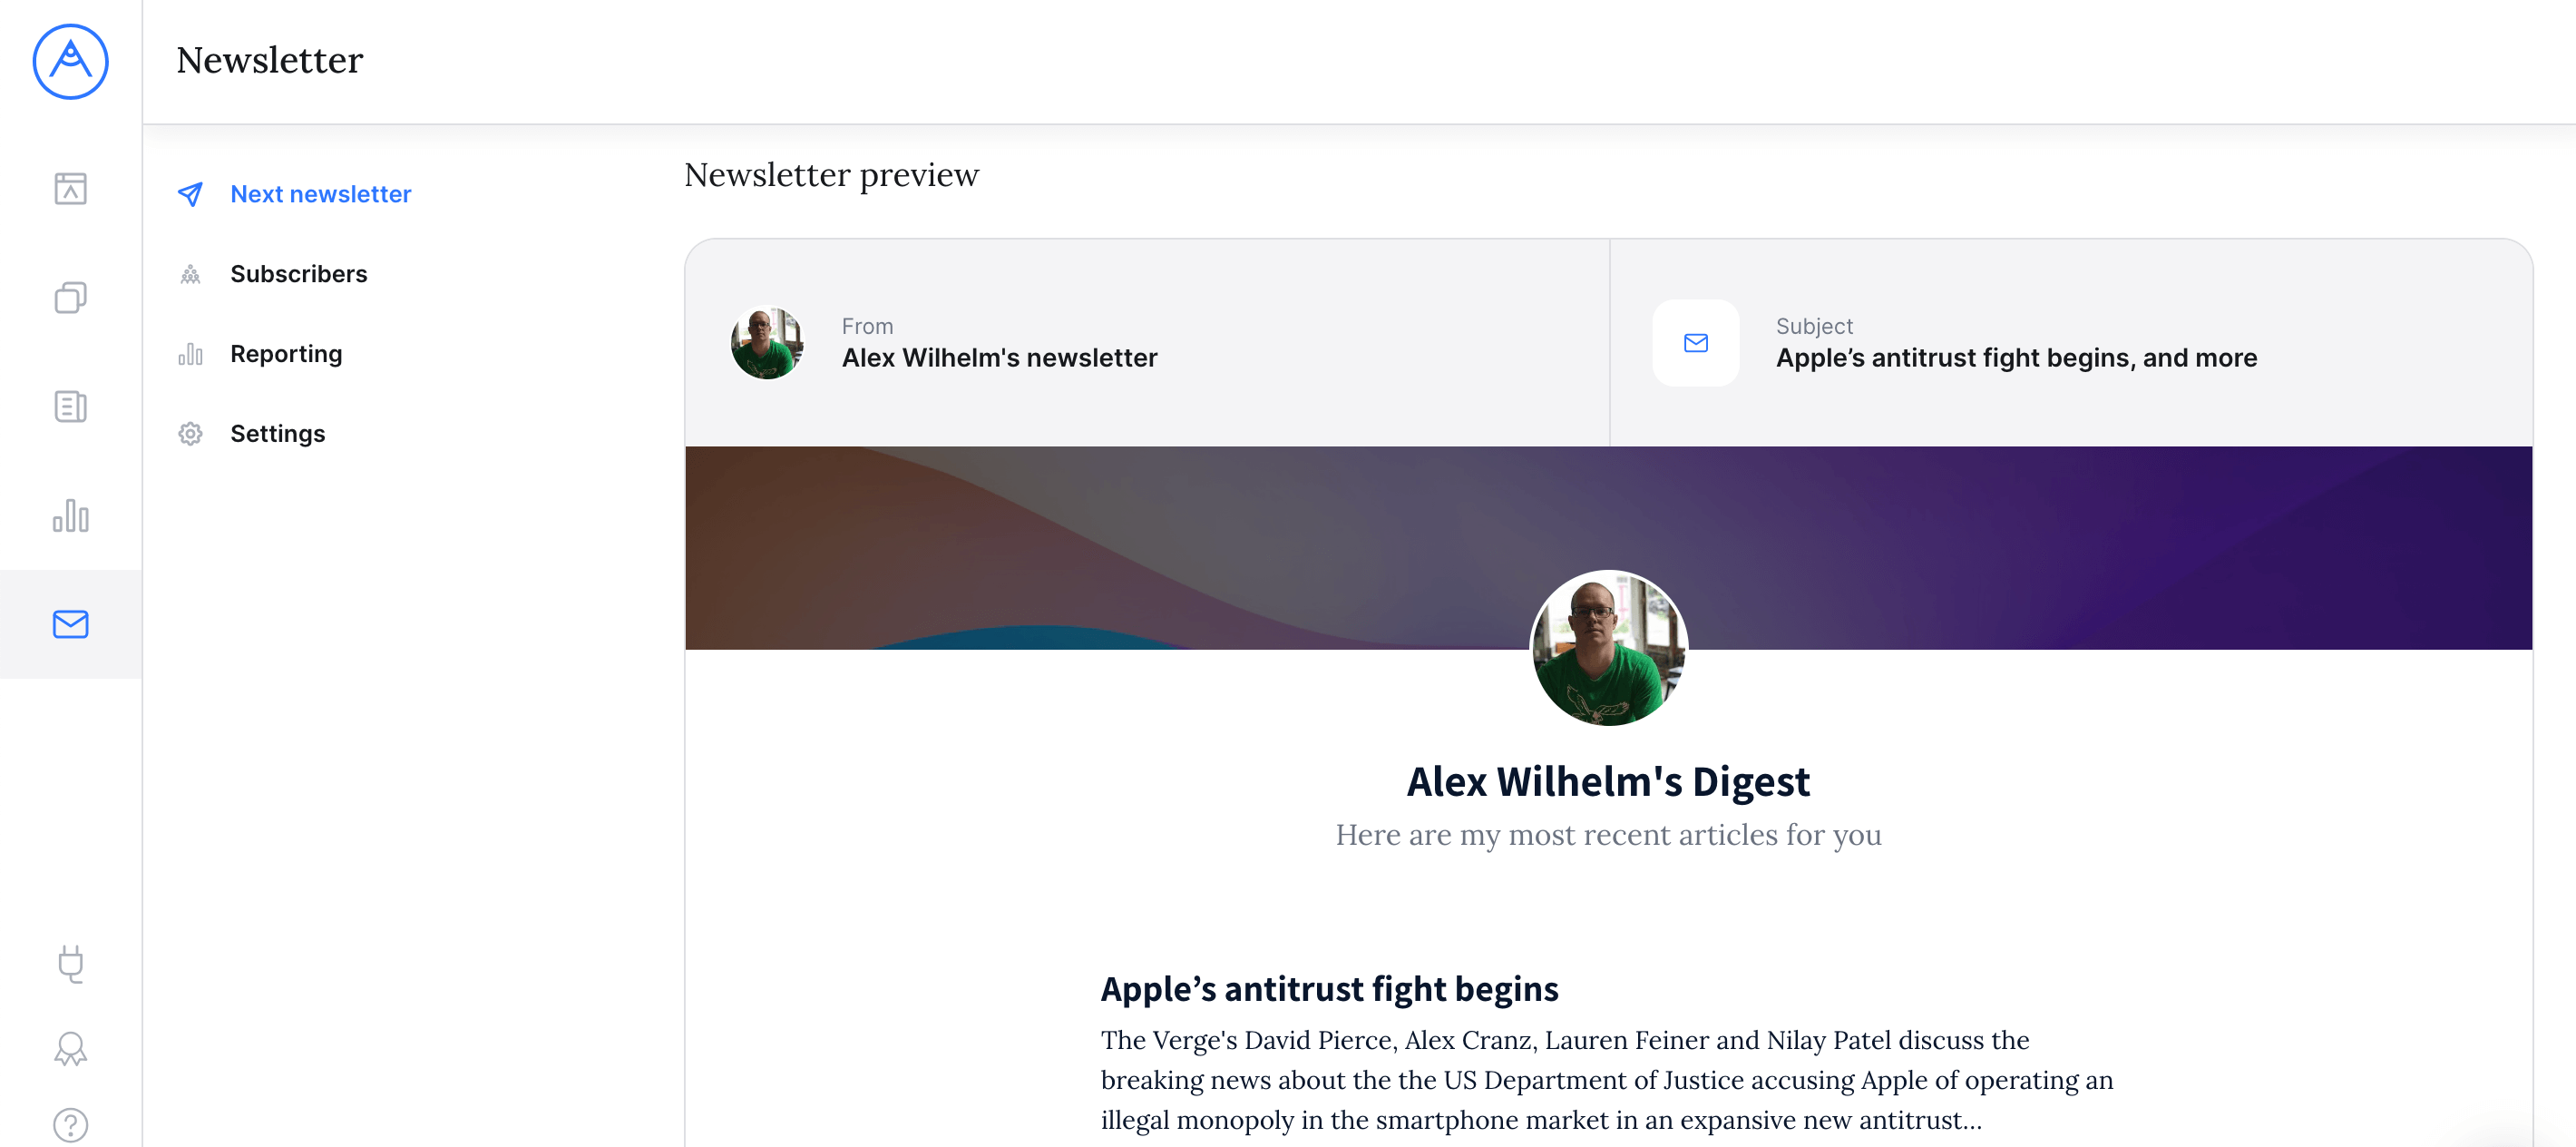
The “Next newsletter” page shows you an overview of when the next newsletter will be sent and how many subscribers you have. Most importantly, it shows you a preview of your upcoming digest:
Subscribers
The subscribers page shows you a list with all your current subscribers, containing both the date of joining your newsletter as well as a “Loyalty” metric. The latter describes the proportion of newsletters that the respective subscriber opened (e.g. a 100% loyalty means the subscriber opened every newsletter they received so far).
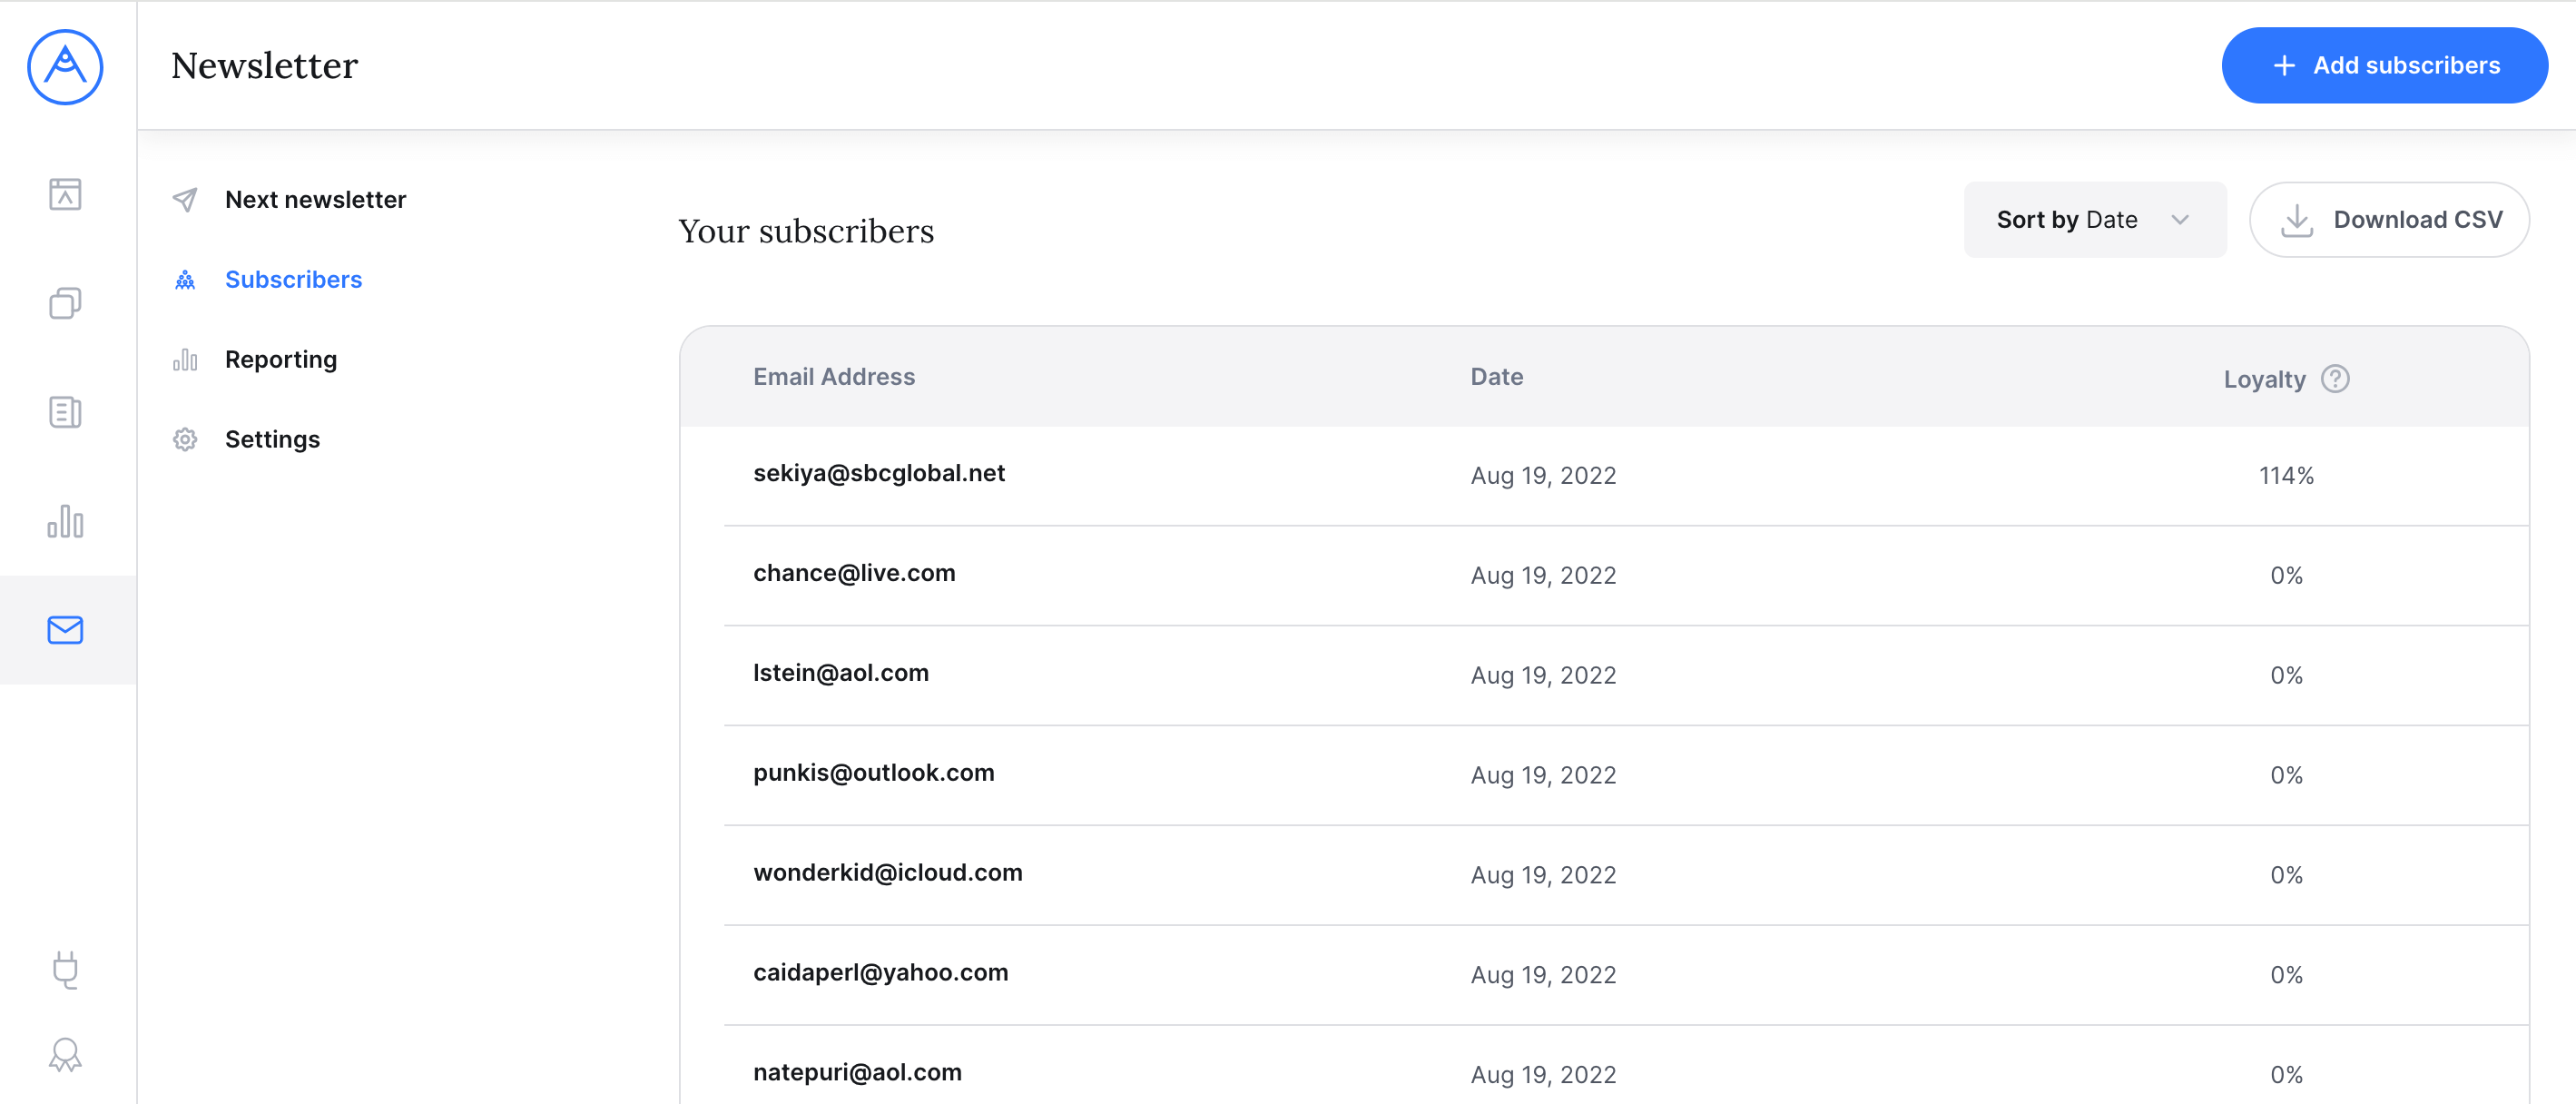
You can download a list with your subscribers anytime from here, or you can add subscribers by clicking the “Add subscribers” button in the top bar and then copy&pasting their email addresses.
Reporting
The reporting page shows you an overview of how often your newsletters have been opened and clicked in aggregate (you can change the time frame anytime):
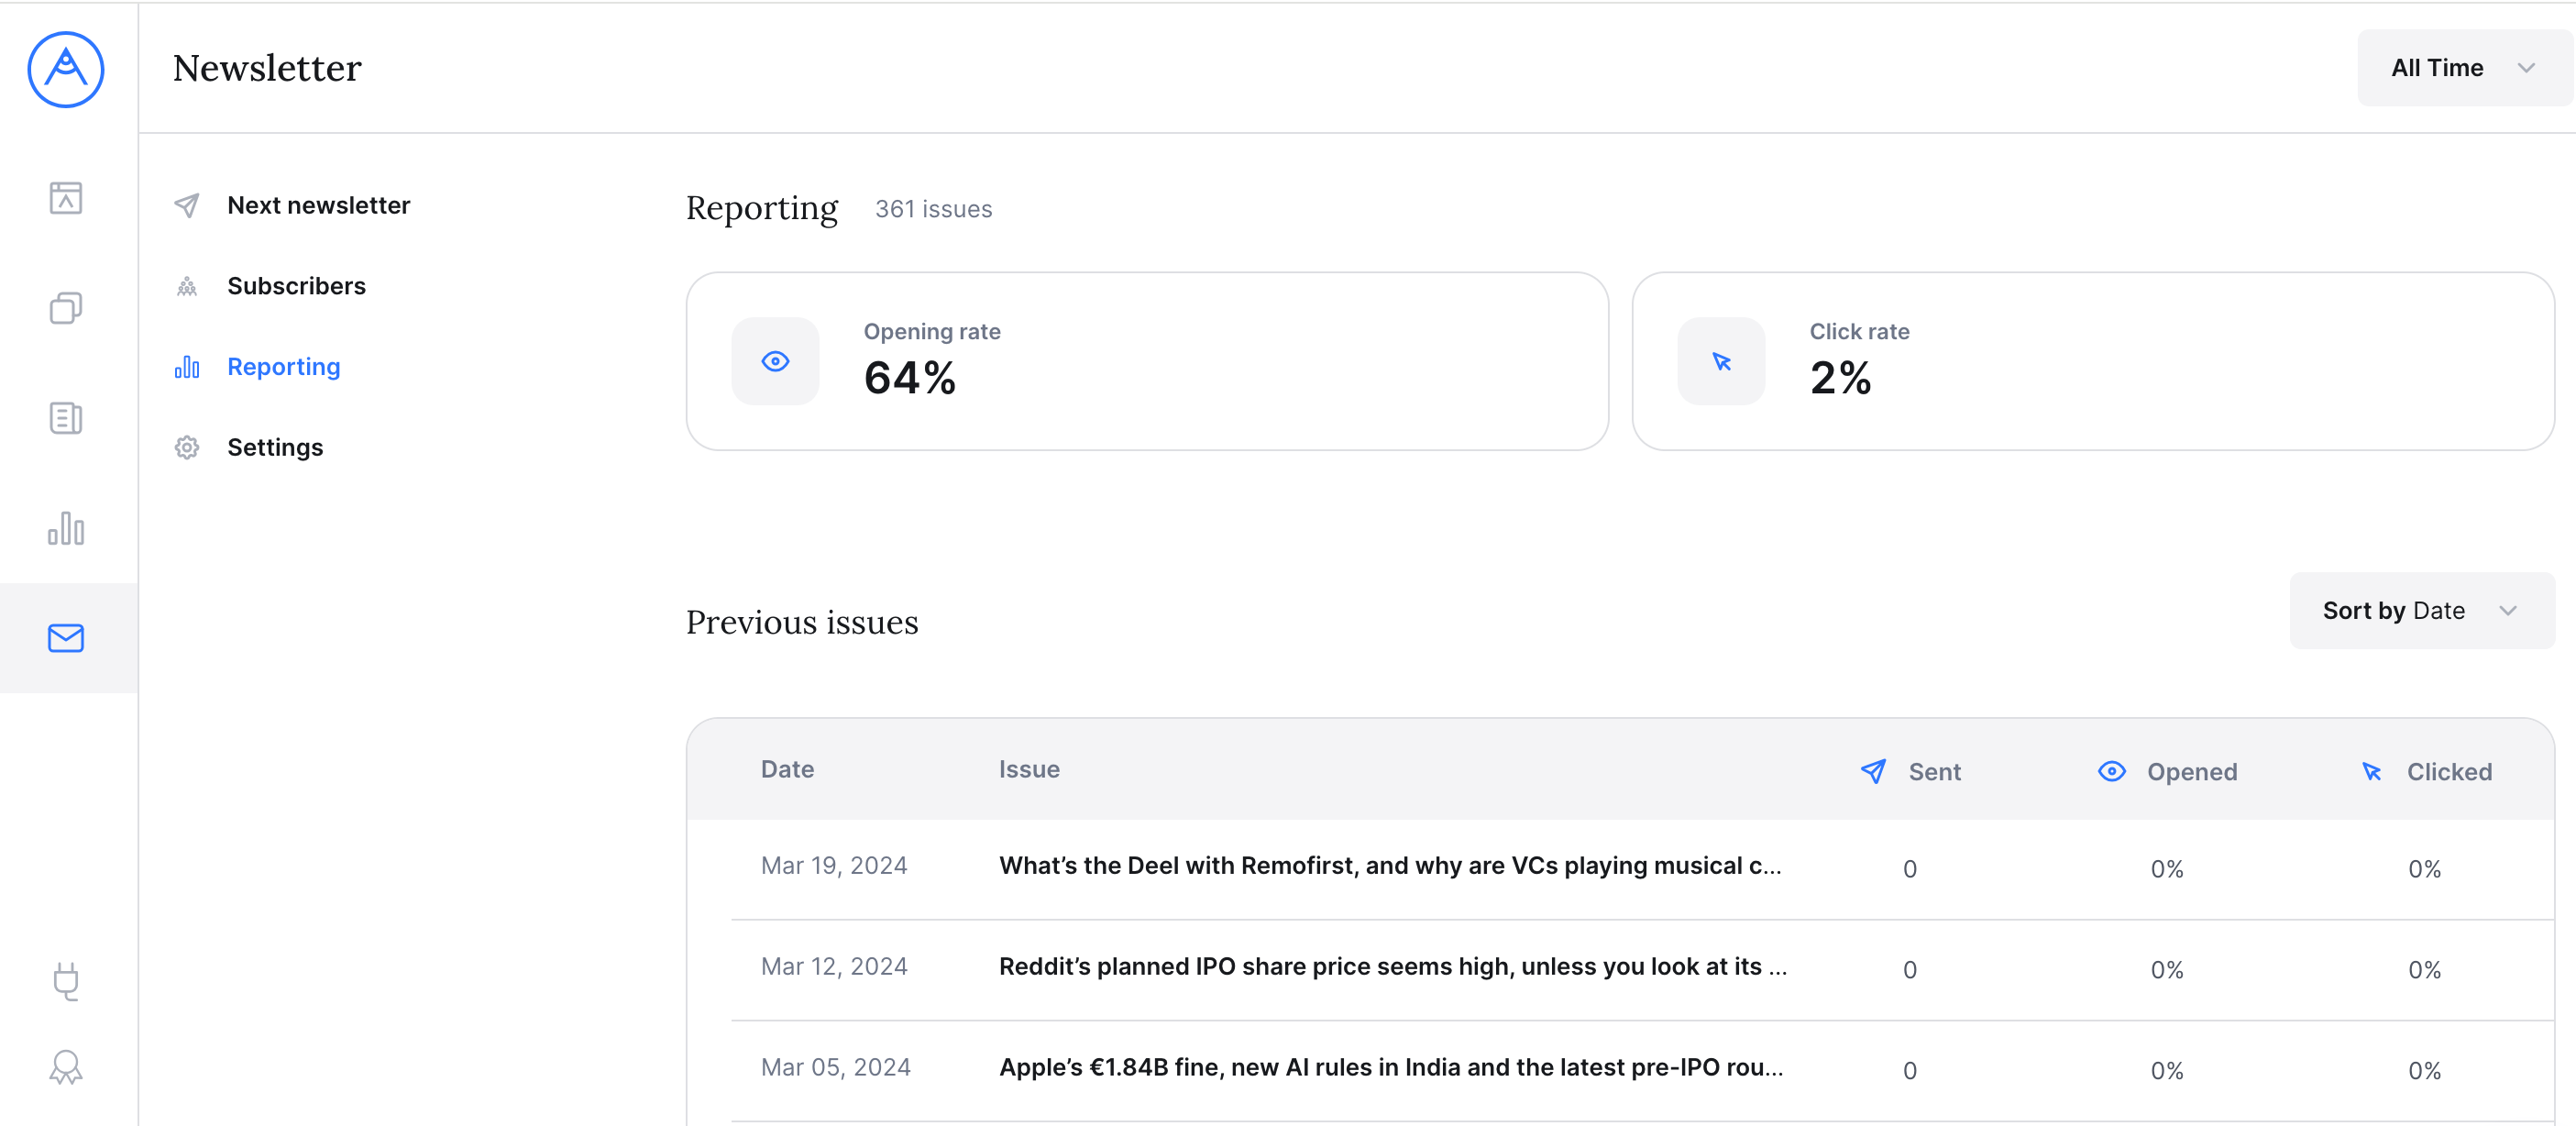
Below the aggregate metrics, you’ll find a list with open and click metrics for every single issue.
Settings
In the Settings, you can customize the Sender name of your newsletter (that’s what is displayed as the sender in the recipient’s email client), the schedule and the name.
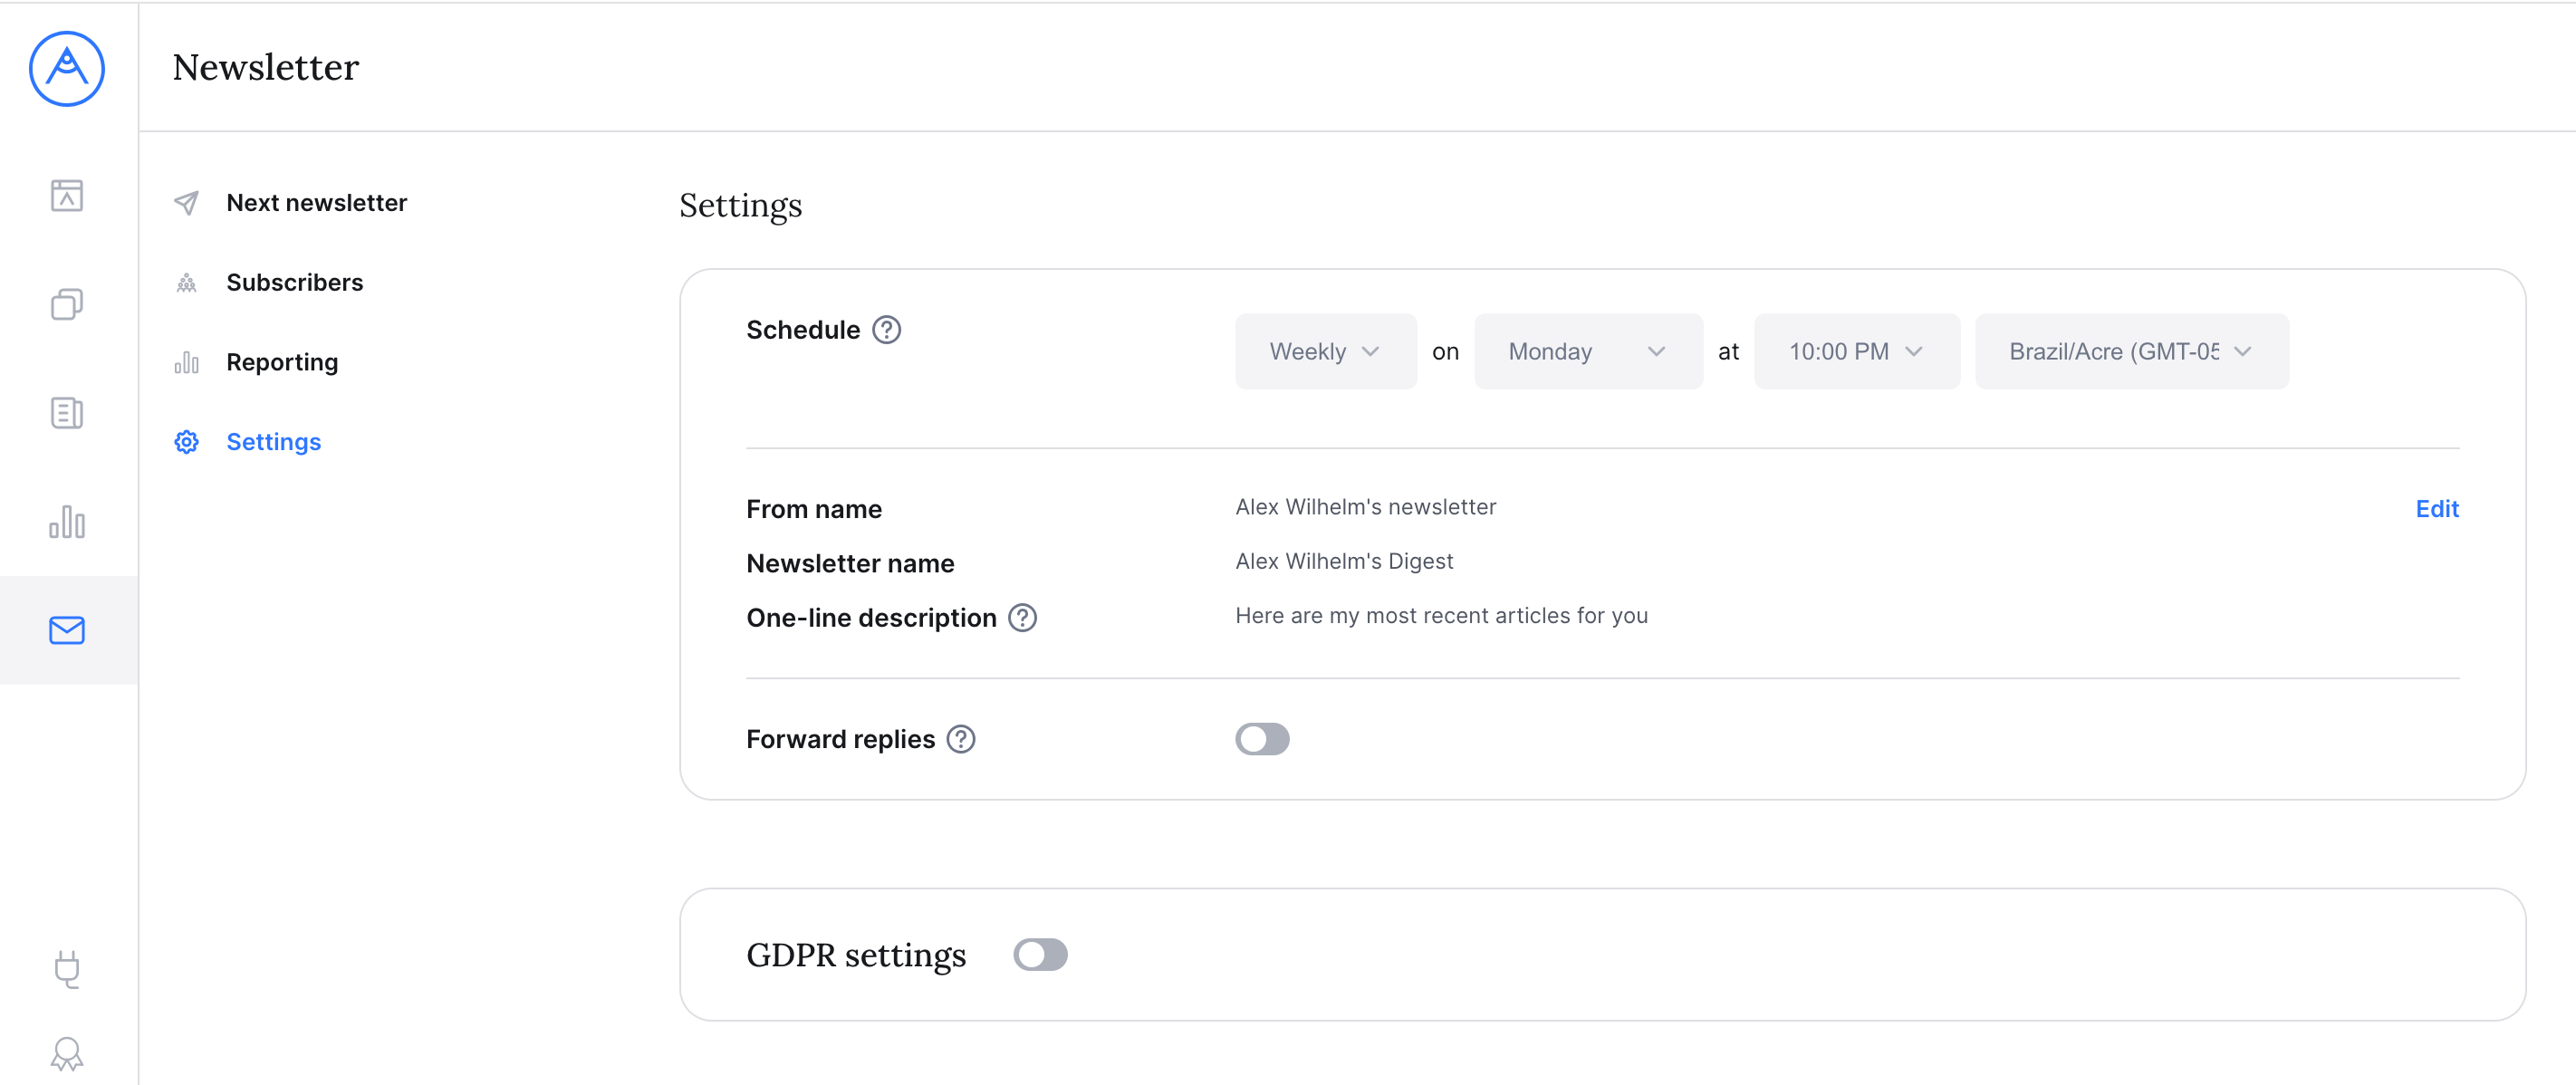
If you enable “Forward replies”, then all emails that are being sent as direct replies to your newsletter by any recipient will be forwarded to your email address. Having said that, your personal email address will not be visible at any point to your recipients.
Last but not least, you can also enable GDPR settings in the Settings.