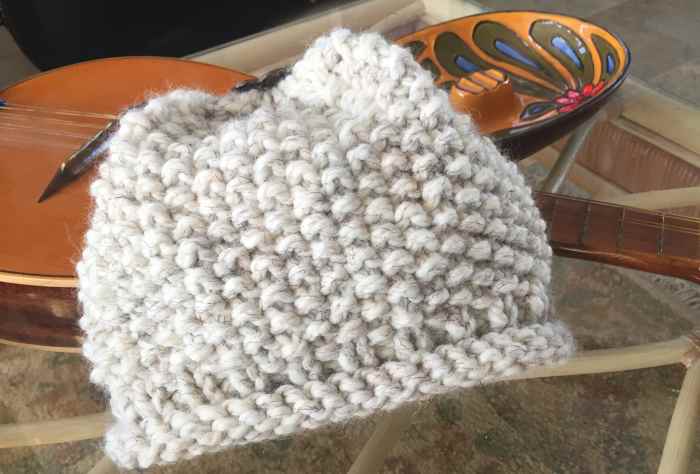
Knitting a Hat on Circular Needles
Here is a pattern I developed for a really fast and warm knit hat with a rolled brim, approximately teen- to medium-adult size. I used 16-inch circular needles, US size 13, and one skein of Lion Brand Wool-Ease Thick & Quick from my stash.
Like many other knitters, I enjoy knitting in the round because of the minimal finishing needed and because the project goes faster when you don't have to work the wrong-side rows.
This hat can be completed on the circular needles without switching to double-points for decreasing, as it requires only a couple of decrease rounds. I believe this would be a good pattern for a first-time circular project.
Pattern Stitch
(Seed Stich)
With odd number of stitches:
Round 1: *K1, P1. Repeat from * around.
Round 2: *P1, K1. Repeat from * around.
Repeat these two rounds for pattern stitch. You will be knitting the purl stitches and purling the knit stitches from round 2 on.
Materials
- 1 pair US 13 circular needles, 16 inches long
- 1 skein bulky washable yarn, such as Lion Brand Wool-Ease Thick & Quick
- Large yarn needle or crochet hook for weaving in yarn tails
- Scissors
- Optional button or pompom for finishing top of hat
Gauge
Approximately 8 stitches = 4 inches in pattern stitch.
Pattern
Cast on and Work Brim
- Cast on 40 stitches. Place a marker and join in the round.
- Knit 4 rounds. In circular knitting, this produces stockinette stitch.
- Change to *K1, P1 ribbing. Repeat from * around and work 3 rounds this way.
Begin Pattern Stitch
- Next Row: K2 together (reduces stitch count to 39), P1, *K1, P1 around.
- Next Row: *P1, K1 around.
- Continue working round 1 and round 2 of pattern stitch alternately until the pattern stitch section measures about 7 inches.
Note: At this point, you can carefully try on the hat without dislodging the needles to see if you would like to make it taller before beginning the decreases. If so, simply add a few more rounds of pattern stitch before continuing.
Begin Decreases
- Next Row: K around.
- *K1, K2 tog around (26 stitches).
- *K2 tog around (13 stitches).
Finishing
Cut yarn and draw the yarn tail through the remaining stitches, pulling them tightly closed, and secure on the inside of the hat.
Weave in yarn ends.
Top as desired.
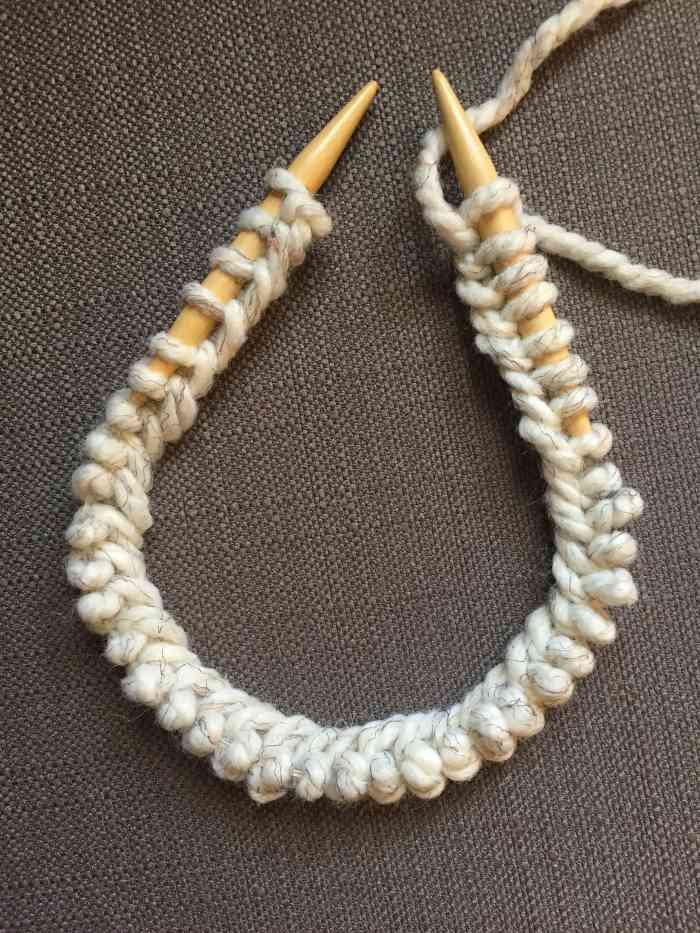
Step 1
Cast on 40 stitches using the long-tail cast-on method. Carefully align the stitches in the same direction, and join to knit in the round.
Step 2
Place a marker for beginning of round. Knit 4 rounds. This will curl to form the roll-up brim.
Step 3
Switch to K1, P1 ribbing, and knit 3 rounds in ribbing.
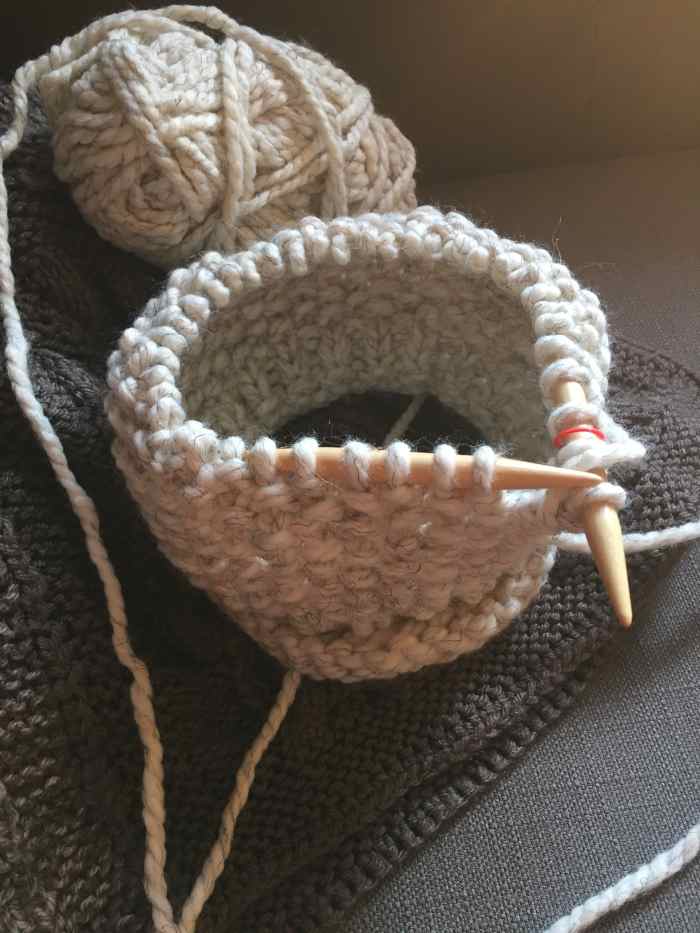
Step 4
Work a K2 together to decrease 1 stitch. Then work pattern stitch for 7 inches or to desired height.
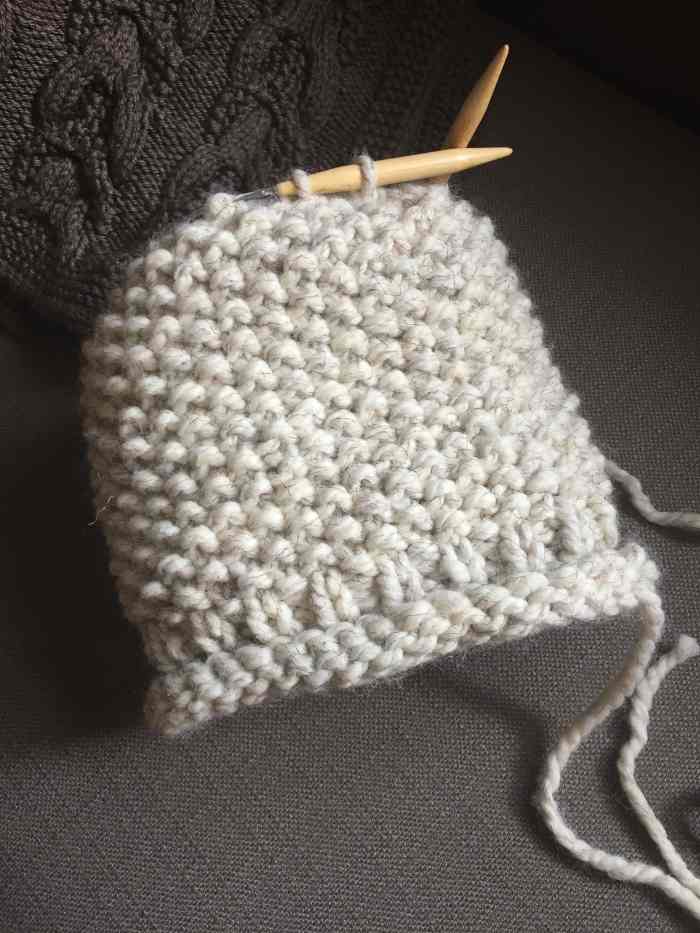
Step 5
Knit 1 round, then begin decreasing.
Decrease Rounds
- K1, K2 together around. This leaves 26 stitches on the needles.
- K2 together around. This leaves 13 stitches on the needles.
Step 6
Cut yarn leaving about a 16-inch tail, draw it through remaining stitches, and fasten off. Weave in yarn ends.
Congrats! You have successfully knitted a useful hat. You can even add a pompom or a bow to the top for an extra pop. Hopefully, you've gotten to practice sewing with circular needles and will be a pro in no time.
© 2017 KT Dunn